A pragmatic, step-by-step guide to evaluating and integrating high-current inductors for optimal thermal and electrical performance.
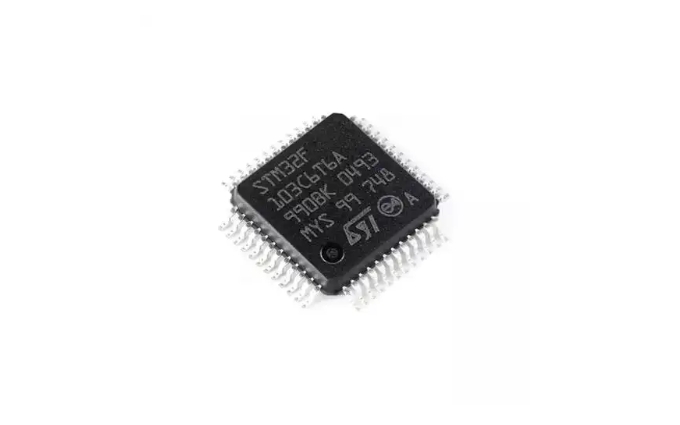
Designers of high-current power stages often struggle with picking an inductor that meets current rating, low loss, thermal limits, and PCB footprint without overdesigning or risking saturation. This guide shows a pragmatic, step-by-step way to evaluate and integrate AMELH5050S-R82MT into a project, and explains how a well-chosen high-current inductor reduces conduction loss and thermal risk while keeping PCB area compact.
The approach below is practical: scan the critical datasheet entries, run quick margin checks, validate on the bench, and follow a tight PCB/layout checklist so prototypes behave like production. Each paragraph gives a clear point, datasheet-backed evidence, and an explanation you can act on immediately.
1 — Why use a dedicated high-current inductor for power builds (background)
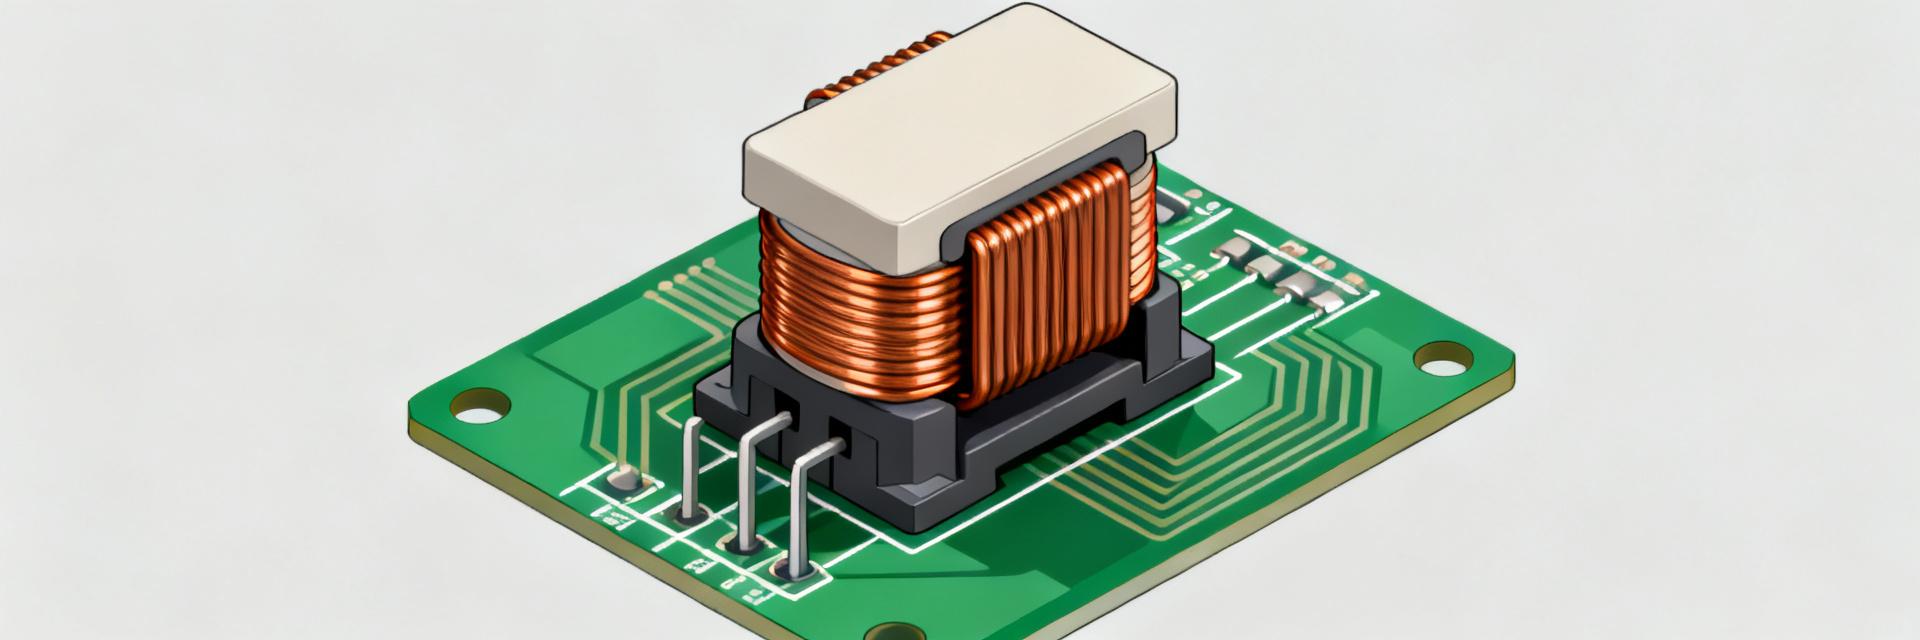
1.1 Key specs at a glance and what they mean
Point: The first pass through any part is a small spec table. Evidence: the datasheet lists inductance, DCR max, Isat, Irms/rated current and package. Explanation: L sets ripple; DCR sets I²R loss; Isat limits peak current before L collapses; Irms/rated current bounds steady heating and PCB thermal design. Below is a compact spec snapshot for quick comparison.
| Part | L (µH) | DCR max (mΩ) | Rated current (A, Irms) | Isat (A) |
|---|---|---|---|---|
| AMELH5050S-R82MT | 0.82 | 2.5 | 30 | 60 |
1.2 Typical applications where this part is a fit
Point: High-current molded SMD inductors suit buck converters, battery stages, motor drivers and LED power. Evidence: these applications need low DCR to limit conduction loss at tens of amps and high Isat to tolerate peak currents. Explanation: map your peak and ripple currents to the part's Isat and Irms; if ripple pushes peaks near Isat, select larger L or a higher-Isat part to avoid inductance collapse.
2 — Electrical performance & datasheet interpretation (data analysis)
2.1 DCR, Isat, Irms, and DC bias — practical rules to evaluate suitability
Point: Use simple rules to decide fit: target Isat margin 20–30% and compute conduction loss from I_rms and DCR. Evidence: datasheet gives DCR and Isat; designers commonly apply I_peak = I_out + ΔI/2, I_rms ≈ sqrt(I_out^2 + (ΔI^2)/12). Explanation: compute ΔI = Vout*(1–D)/(L*fsw) for a buck, then check I_peak vs. Isat and I_rms^2*DCR for loss. This is the core of how to choose electrically.
Assume 12V→1.2V at 20A, fsw=600kHz, choose L=0.82µH gives ΔI ≈ 1.6A.
Then I_peak ≈ 21.6A; I_rms ≈ sqrt(20^2 + (1.6^2)/12) ≈ 20.03A.
Conduction loss ≈ I_rms^2 * 0.0025Ω ≈ 1.0W.
Since 21.6A is
2.2 Frequency response, impedance curves and core loss considerations
Point: Impedance vs. frequency and core-loss charts determine behavior at switching frequency and harmonics. Evidence: L vs. DC bias curves show inductance reduction under DC current; impedance plots show where core loss or skin effects rise. Explanation: read L at intended DC bias—nominal L often overstates actual L under load. Measure L with DC bias in the lab and avoid assuming room‑bias inductance equals operating inductance.
3 — Thermal, PCB and mechanical integration (method guide)
3.1 Thermal management and PCB layout best practices
Point: DCR losses manifest as heat that the PCB must remove. Evidence: datasheet DCR plus I_rms gives watts to sink; thermal vias, copper pours and trace width control temperature rise. Explanation: use wide traces or planes tied with multiple thermal vias beneath the part, keep switching loop short to minimize parasitics, and design for ΔT ≈ 40°C headroom at expected steady current.
3.2 Soldering, footprint, vibration and reliability considerations
Point: Mechanical integrity affects long-term resistance and reliability. Evidence: molded/shielded inductors depend on good solder fillets and correct reflow to survive vibration and thermal cycles. Explanation: specify reflow profile per supplier recommendations, inspect fillets, and set acceptance criteria such as ≤5% DCR change after thermal cycling and no mechanical cracks after shock testing.
4 — Worked example: selecting AMELH5050S-R82MT for a 12V → 1.2V @ 20A buck (case study)
4.1 Selection steps from requirements to part match
Point: Walk the selection: requirements → L → ripple → peak current → margin checks. Evidence: with 0.82µH the computed ΔI and I_peak from earlier show manageable ripple and losses. Explanation: given ΔI ~1.6A and I_peak ~21.6A, Isat and Irms margins meet the 20–30% rule, DCR loss ~1W is acceptable for many 20A stages but confirm board cooling; if lower loss needed, pick lower-DCR or parallel inductors.
4.2 Validation plan and expected measurements
Point: Validate with three bench tests: DCR (Kelvin), L at DC bias (LCR + bias), and thermal rise under steady load. Evidence: acceptance: ΔT
5 — Quick selection checklist & next steps (action suggestions)
5.1 One-page decision checklist
Point: A short checklist turns analysis into action. Evidence: follow these steps before ordering. Explanation: this consolidates the process so engineers can quickly decide how to choose and validate parts.
- Define peak & RMS currents and switching frequency.
- Calculate required inductance & ripple current (ΔI = Vout*(1–D)/(L*fsw)).
- Check Isat > peak_current × 1.2–1.3 and Irms margin for thermal headroom.
- Confirm DCR → acceptable conduction loss (P = I_rms^2 × DCR).
- Verify footprint & thermal path on PCB; plan vias and copper areas.
- Plan bench tests: DCR, L under bias, ΔT under steady load.
- Select 1–2 alternates with nearby L/DCR/current for availability risk.
5.2 Procurement and prototyping tips
Point: Buy small sample reels and alternates for validation. Evidence: measured DCR/L often differ slightly from vendor tables and assemblies change performance. Explanation: validate samples in your exact load and temperature, log measured DCR and L for BOM control, and keep alternates in the procurement plan to reduce schedule risk.
Key summary
- Read the datasheet first: L, DCR, Isat and Irms dictate electrical fit; AMELH5050S-R82MT at 0.82µH offers a balance of low DCR and high Isat for many 20–40A stages.
- Do the math: compute ΔI, I_peak and I_rms, then check I_peak against Isat with a 20–30% margin and estimate conduction loss via I_rms^2·DCR.
- Validate on hardware: measure DCR (Kelvin), L with DC bias, and temperature rise under steady current; require ΔT
- Finalize layout and reliability: ensure short switching loops, adequate copper/vias, correct reflow, and acceptance criteria for post‑test DCR change.
Common questions and answers
Is AMELH5050S-R82MT suitable for my 20A buck application?
Answer: If your computed I_peak and I_rms meet the 20–30% Isat/Irms margin and the estimated conduction loss is acceptable for your thermal budget, this part can be a good fit. Confirm by measuring L under DC bias and steady-state ΔT on a prototype before committing to production.
How to choose the correct inductance value using AMELH5050S-R82MT?
Answer: Use ΔI = Vout*(1–D)/(L*fsw) to target ripple. Rearranging gives L = Vout*(1–D)/(ΔI*fsw). Choose ΔI as a percentage of Iout (commonly 10–30%). After computing L, verify peak current vs. Isat and losses via I_rms^2·DCR.
What tests should I run after installing AMELH5050S-R82MT on my PCB?
Answer: Measure DCR with Kelvin leads, L with DC bias, steady-state temperature rise under rated current (thermocouple or IR), and output ripple/efficiency on the power stage. Pass criteria: DCR within tolerance, L drop acceptable, and ΔT